|
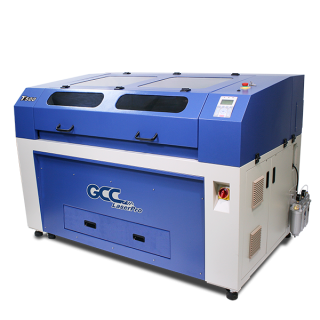
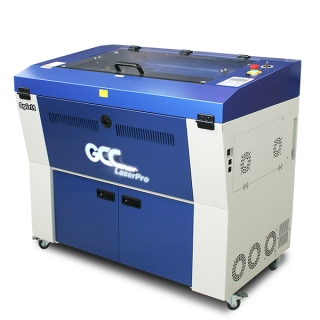
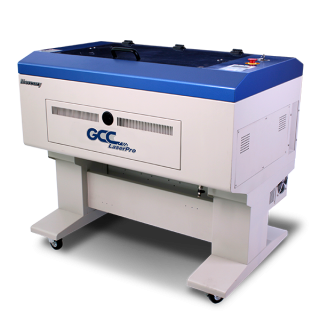
Model: All Co2 series
Material: Acrylic
Industry: Personal Product
The Braillesystem is a method developed by a Frenchman named Louis Braille and is widely used by blind people to read and write. Through using tools of slate, stylus and the Braille typewriter, different combinations of dot matrices are created to represent textual characters of the writing system. By touching these different combinations of dots, blind people can read and communicate by distinguishing and assimilating varied matrices.
Manufacturers may encounter with requests to produce various Braille system related applications; practically, it is actually quite straightforward to apply laser engravers to accomplish these tasks. Generally manufactures will first take a black layer and construct a white dot in the centre; this will produce a raised effect of the engraved dot. However, this method generally creates dots with sharp edges that may injure the blind when they touch the dots. In view of that, the LaserPro application lab has found a very good solution to resolve this dilemma.
| 
Black & White method creates dots with sharp edges. |
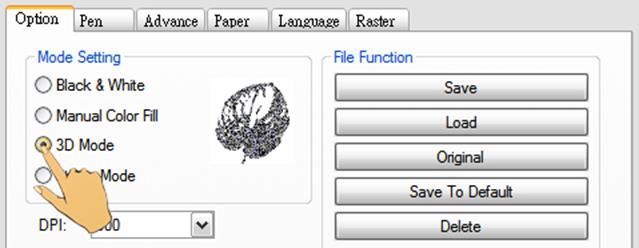
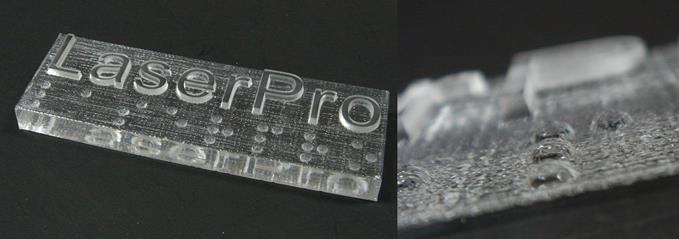
We will use the built-in 3D Mode of the LaserPro driver to create Braille characters. Utilize in combination with CorelDraw and apply with its grayscale function, this will give a smoother engraved finish around the edges, offering softer touch sensations of the elevated dots.
Now please join the LaserPro Application Lab to create a better and smoother Braille system.
| 
3D Mode its grayscale function creates more rounded dots. |
Steps:
Step 1. First download the Braille fonts and install to PC, search for available websites to download fonts via Google (URLs not provided here with respect to Copyright)
Step 2. Select the Braille font and key-in letters that you wish to engrave. For example, if you key-in LASERPRO:
| Step 3. In order to create raised dots, we will switch the black dots to white dots.  |
Step 4. Then apply the grayscale function to the round dot to generate a 3D effect.
Step 5. Select 3D mode in the Drivers page to adjust settings.
Sample:
Parameters:
Tips:
- Before engraving begins, please make sure that all resource media used is leveled and even, this will avert from misplacing focus and cause unwanted material waste.
- Moderate adjust power output as excessive power may damage materials used.
|